
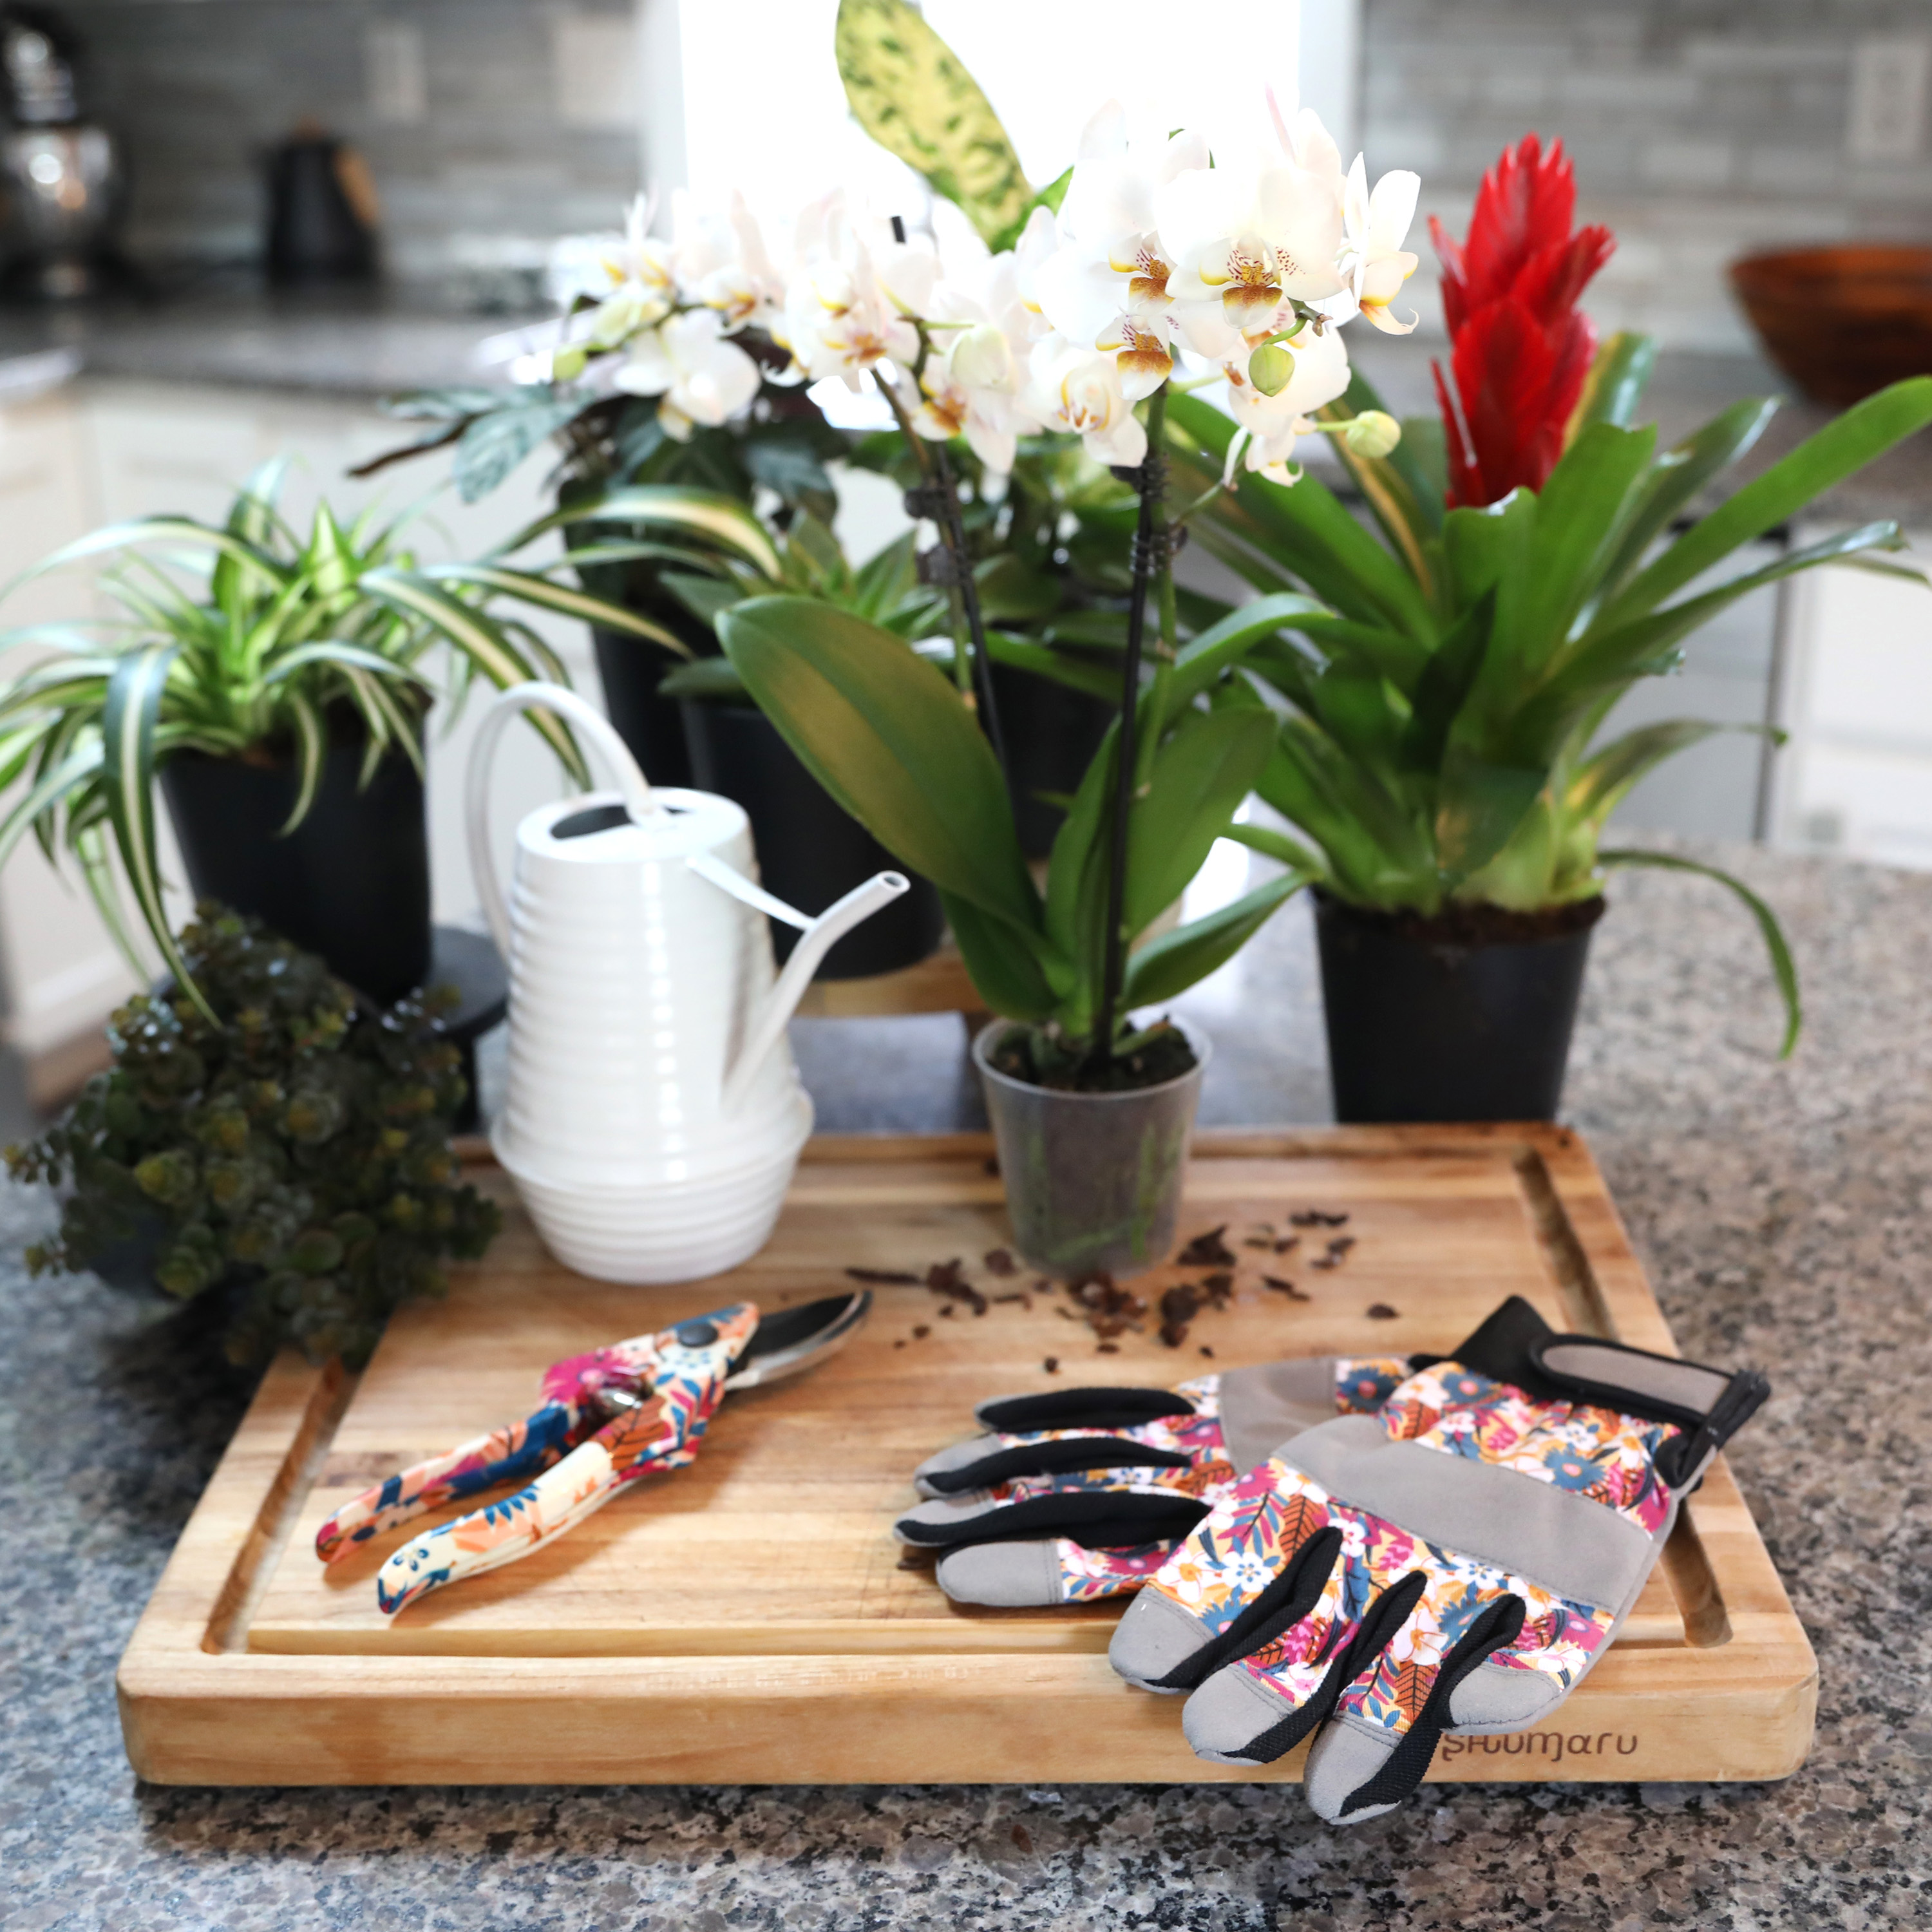
Orchid Repotting 101
There comes a point in time where all Phalaenopsis orchids should be repotted to maintain good health and increase its life longevity. Repotting also keeps the potting media in good shape, allowing for the rapid drainage and root aeration that Phalaenopsis orchids require. If you've never repotted your orchid before, you might be wondering if it's really necessary. You might also be hesitant to repot your orchid because you don't want to damage it. Luckily, the task is super simple! We’ve laid out the steps to take when repotting your orchids.
Orchid Repotting Tips
- We recommend repotting your orchid every one to two years to keep it happy and healthy.
- Repot your orchid into a container that is 1-2” larger in diameter and depth than its original sized pot.
- Use a container that has drainage holes.
- A clear container is best for regular viewing of your orchid’s root health.
- Repotting should only occur after the Phalaenopsis orchid's flowering cycle is complete.
Once the orchid is finished blooming, these are steps that should be taken to repot the Phalaenopsis orchid:
Step 1: Trim the Spikes
Why trim the spikes? Phalaenopsis orchids use the time that they are out of bloom to rest and gather energy for their next blooming cycle. A dried shriveled up spike, or even a green spike, is drawing energy that the orchid could be using in a more beneficial way.
Orchid spikes that have remained healthy and green can be trimmed one inch above the top node of the orchid spike. If the spikes have turned yellow or brown, trim one inch above the base of the plant.
Step 2: Remove the Orchid from its Old Container
Many Phalaenopsis orchids are planted in a plastic container and can be easily removed from the container. Some orchids, however, may be more stubborn to remove as the root system may be attached to the container. It is important to maintain the integrity of the roots by carefully and slowly removing the plant. Either way, once the roots are exposed, all media that is attached to the roots must be removed as it will be discarded.
Step 3: Trim the Dying Roots
Using clean scissors, carefully trim away any brown or soft roots as these roots are dying or already dead. Healthy looking roots will be firm, green, or white in color.
Step 4: Place the Orchid in a New Container
After the orchid roots are trimmed away, place your orchid in a new container with drainage holes that is 1-2” larger in diameter and depth. The goal is to have the base of the plant placed approximately a half of an inch below the rim of the container.
Step 5: Add New Media
Once the orchid is in place in the container, carefully add the new media around the entire plant. We suggest using pine bark or any orchid bark mix as your growing media. Press the new media down lightly and tap the pot to help the media settle into place avoiding any air pockets. Fill the pot until the media has reached the bottom of the lowest leaf. This step can get kind of messy, so you may want to do this on a tray or in an area where you are not worried about spilling.
Step 6: Place in a Cache Pot
To avoid water leaking on surfaces in your interior, place your orchid container into a decorative cache pot. Voila- you have a beautiful orchid ready to expand its roots into a new growing environment!


